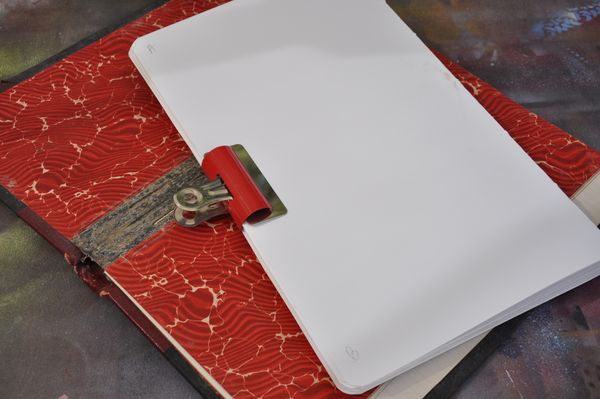
Step 4 I punched 7 holes in the signatures. No measuring here, I just eyeball the middle, punch 1 hole there, and evenly space the others on either side of that middle hole. I use one of my pages from the 1st signature I pierced as a pattern for the other signatures – just lay it over the top.
I’ve learned a few very useful things over the last couple of weeks in my self-guided bookbinding course. Using a pencil to mark A (top) and B (bottom) is extremely helpful. It’s all too easy to get things mixed up and since I don’t measure, the top really needs to stay on top. Otherwise the holes won’t line up.
About the not measuring…you can take the girl out of the ghetto, but you can’t take the ghetto out of the bookbinder. I am highly resistant to too much precision. Highly.
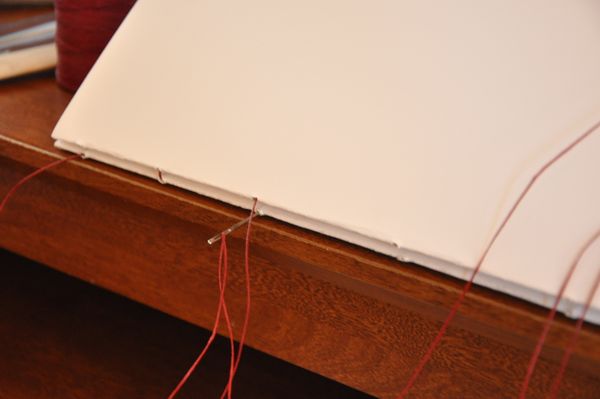
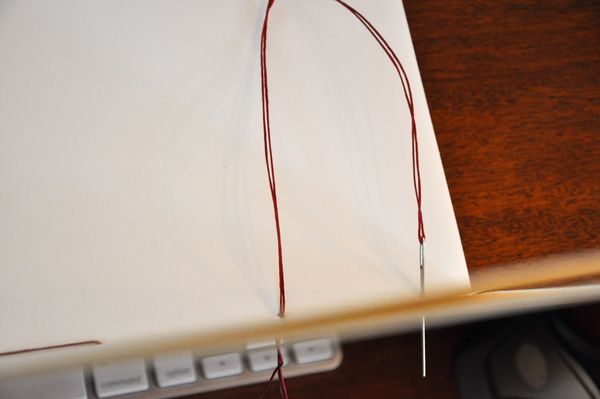
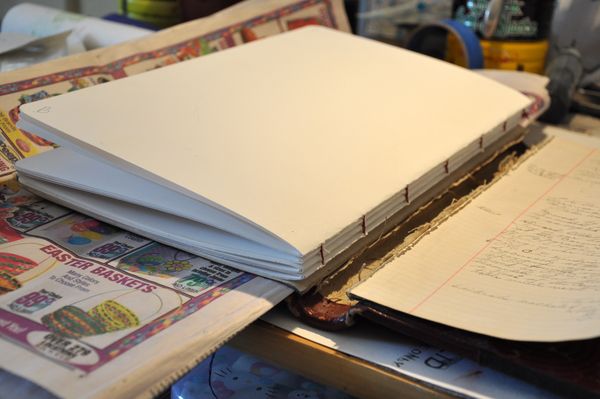
Step 5 I sewed the signatures together using a single-needle coptic or chain stitch. Sewing on the edge of a desk or table really helps me not to wrestle with the signatures.
Also, seems to make things easier if I enter and exit the signature with the needle in one motion. Saves time and reduces tangling.
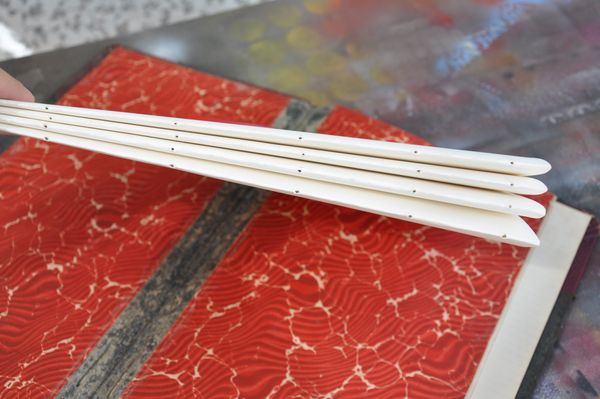
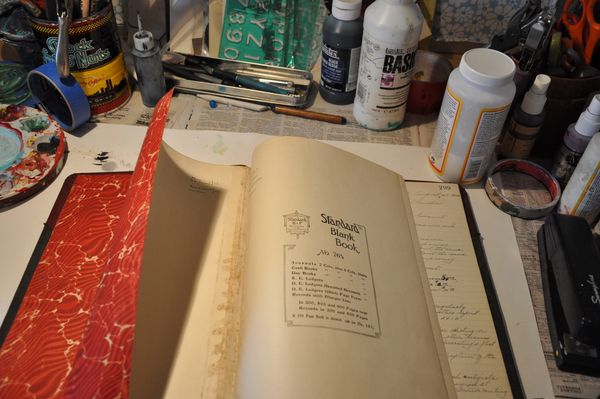
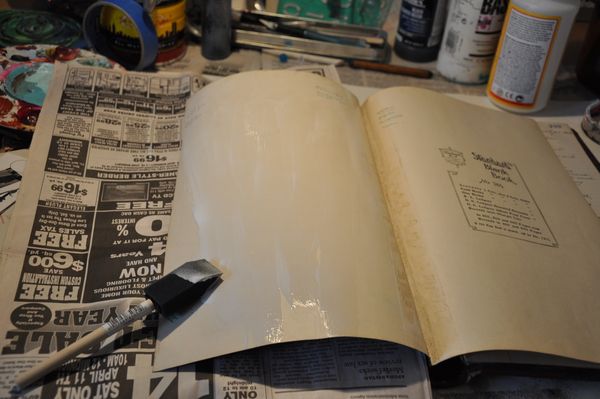
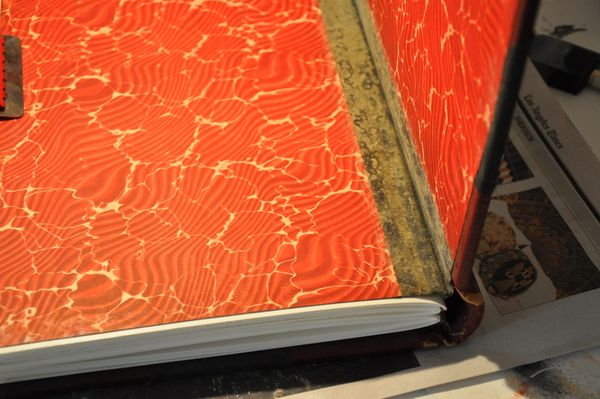
Step 6 I glued the remaining 2 ledger pages at the front and back covers to the red-marbled endpapers. I left those 2 pages (4 total) intact when I cut out the text block because they had been reinforced with linen tapes. I wanted a strong foundation to glue to my 140 lb watercolor text block.
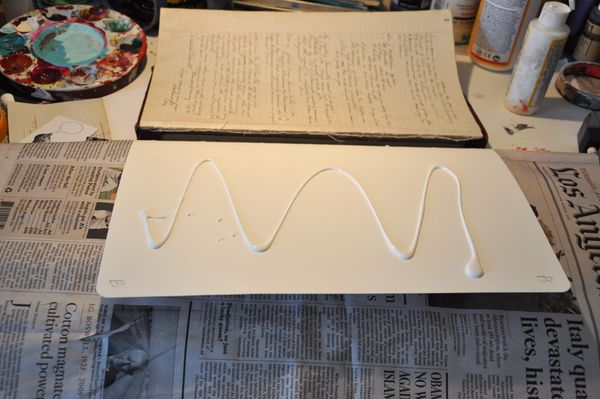
My glue of choice is almost always a generous portion of Mod Podge.
Step 7 After my endpaper sandwich was completely dry, I glued the new text block onto the endpapers.
While I did this, I pulled the cover and endpaper onto the text block and centered as closely as possible. My text block was about a centimeter too big, but it doesn’t stick out of the covers so I won’t trim it down. Next time I make a book like this I’ll make the inside text block slightly smaller than the original pages.
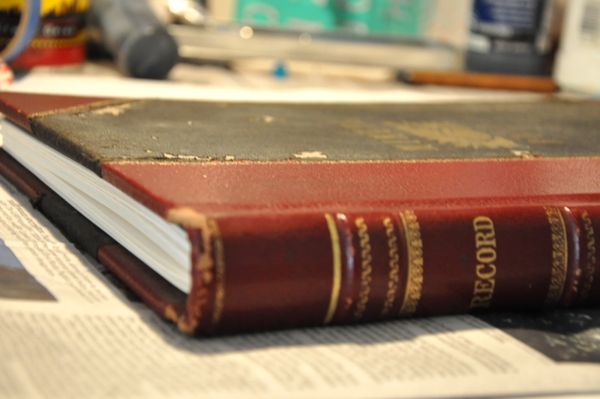
My new Fabriano text block nestled between the old Oddfellow’s ledger covers!
Visual Journal #11 is born! ¡aquí estávoila!
I prefer an unadorned simple cover on my visual journals so this one will remain as is. I may glue a small No. 11 to the front. I’m really glad I figured out a way to preserve this original raised cord spine. I think it’s beautiful, but just tattered enough to be interesting.
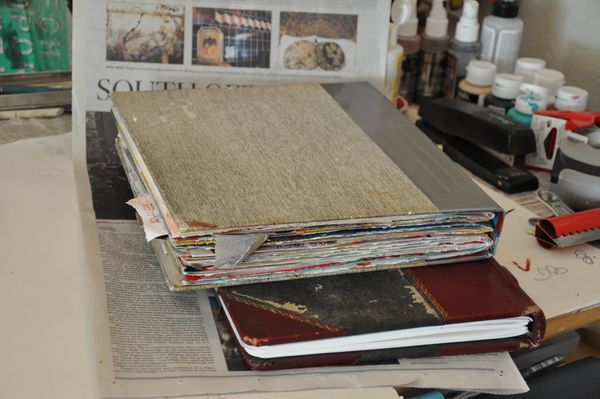
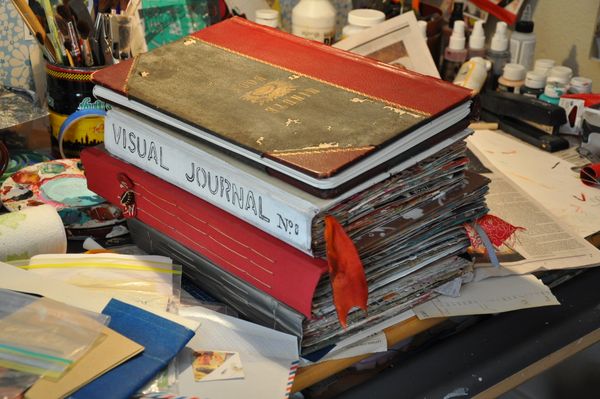
Here’s Visual Journal #10 for comparison. #11 is taller and more narrow. The dimensions are 14 by 8.5 and there’s plenty of room for expansion. I’ll enjoy working on a new size of page.
There’s the new sheriff in town. Sitting on top of Journals 8, 9, and 10.
In the next week or so I’m going to make Visual Journal #12. But this time with exposed stitching along the spine. I’m thinking of the binding where I sewed the cords over the signatures. THIS one. That handsome baby is my favorite. Maybe I can find some thick leather cords!
By the way I purchased my bookbinding needles (love), waxed linen, and a Japanese screw punch from Volcano Arts. Excellent, speedy service!
Discover more from Dispatch from LA
Subscribe to get the latest posts sent to your email.





paula i understand exactly what you mean. the innermost page of the signature will protrude the most. that will have to be taken into account as well. my eyeballing measurement style was only off by about 1 centimeter. so next time i will make the pages 1 centimeter smaller all around. this will account for those innermost pages that want to push out more. i personally wouldn’t trim them to match perfectly, but you could. OR… you could simply cut the innermost pages 1-2 centimeters shorter to begin with. if i did that i would assign penciled on #s to the pages to keep them organized. A1 A2 A3 and so on. A1 outermost page no adjustments, A2 the page that goes inside perhaps .5 centimeter shorter, A1 the page that goes inside A2 1 centimeter shorter. make sense?
Looks great, Mary Ann. Nice job!
Isn’t life fabulous when one can teach herself these amazing construction skills and make something brand spanking NEW?! I love this. I love the inspiration it gives me.
Mary Ann ~
So when I put together the signatures, because of the thickness of the paper, the outside edges are not even. Does that make sense? How do I explain this??? I don’t know the technical term for uneven edges when the signatures are complete. Anyway, just in case you know what I’m talking about, how do I fix that??????? Do I adjust the page sizes in advance or what????
Hi Mary Ann, I like very much your visual journal. I’ve been following your steps to create a new book ….. amazing and realy interesting – the reason I decide to comment this last post.
All the best
Goga
Can’t wait to see what you put inside that amazing journal!
Congratulations on Visual Journal #11, Mary Ann—a job well done!
wow. that stack of visual journals is impressive. love the new one. now i’m anxiously waiting to see what you do in your new one. and thanks for the link to volcano arts.
Lovely Mary Ann…this journal is so appealing…just makes you want to pick it up and hold it and find out whats inside. Can’t wait to see how you fill it up. Your sister is funny…especially when she throws in the “mom” card…I have a sister like that…we are only 11 months apart…irish twins :} Thanks for sharing, Roberta
SO awesome! I’ve not seen a project like this. I enjoyed the tutorial. Thank you for sharing.
The whole process was so fantastic, you made it ultra-interesting and inspiring! Now I am thinking of trying to make my own journal…
I have to say thank you for this post. I loved seeing the process stages and how you went about this. You have inspired me to give this type of journal a try (I really only create them with my wire binding machine now).
Inspiring!! w-00t.
great tutorial…..LOVE your new journal!! :))
I’m with you on the precision issue. It doesn’t have to be for me…As long as it turns into a bound journal, that’s all I care…
oh now just hold on a minute. where did this burst of energetic completion of tasks come from? since you finished that so fast, but with some ideas already of what you will do differently next time howsabout I send you my oddfellow minute book and you do mine for me? okay you say? great. it’s in the mail. mom says to tell you it’s nice to do things for your sister.
excellent documentation!
now I have to try that stitch – i’ve done Coptic stitch only few times, always during or after direct instruction. Now to venture into Step By Step World …
Brava! Bravissima!!
Oh, those marbled endpapers are great….I’m glad you saved them. The finished journal looks fantastic! I’d love to sit down with your stack of visual journals and just spend the afternoon drooling over them!